

A bad sound system costs you more than the hardware. Music that cuts out in a restaurant, muddy paging in a hotel lobby, or speakers that buzz in a retail store all hurt the customer experience. Commercial audio installation is the process of designing, mounting, wiring, and tuning a sound system for a business space, and the quality of that work matters as much as the gear you buy.
Here is the short answer. Most small to mid-size venues need speakers, an amplifier or powered speakers, a mixer or DSP, and a source. Expect to spend roughly $2,000 to $10,000 for a single space, and well into five or six figures for multi-zone hotels or large retail. Hire an installer with CTS certification and manufacturer training from brands like Biamp, Shure, or Crestron.
This article covers the equipment each venue type needs, what drives cost, and how to vet an installer. At MegaServices, we have placed certified AV technicians across the U.S. and Canada since 2007, so we know what separates a clean commercial sound system installation from a callback.
Why commercial audio installation matters for your business
Sound shapes how customers experience your space
Audio is part of your environment, like lighting or temperature. Customers rarely notice good sound, but they always notice bad sound. Music that is too loud pushes people out of a quiet cafe, and uneven coverage leaves one booth blasting while the next table can’t hear anything.
Every venue has a different job for its audio. A restaurant needs background music that sits under conversation at every table. A hotel lobby needs clear paging and a consistent mood from the front desk to the elevators. A retail store needs even coverage across the floor so promotions and music feel the same in the fitting rooms as at the register. A well-planned commercial sound system installation delivers that consistency. A pile of consumer speakers rarely does.
It protects safety and keeps operations running
Commercial systems do more than play music. They carry paging, emergency announcements, and presentations, so a failure becomes an operational problem. In many buildings, paging tied to the fire alarm must meet NFPA 72 and local code, and the authority having jurisdiction (usually the fire marshal or building inspector) signs off before you open. NFPA 72 is the national standard for fire alarm and signaling systems.
A proper install also covers the unglamorous parts that decide whether the system lasts:
- Plenum-rated or otherwise code-compliant cable where the ceiling space requires it
- Speaker mounting with rated hardware and safety cables for anything overhead
- Dedicated power and rack ventilation, so amplifiers don’t overheat
- Labeled cables and as-built documentation, so the next technician can service it in minutes
- DSP tuning, including zone levels, limiters, and microphone feedback control
That last item gets skipped most often, and it is where a system goes from working to sounding right.
Poor installs get expensive fast
Cheap audio is expensive when you pay for it twice. Most problems we see trace back to planning and workmanship, not to the speakers themselves. Callbacks, rework, and delayed openings eat the savings from a low bid.
| Problem | Typical cause | Business impact |
|---|---|---|
| Hum or buzz | Ground loops, power and signal cable run together | Staff turn the music off |
| Dead spots and hot spots | No coverage plan, wrong speaker spacing | Volume complaints, uneven experience |
| Mic feedback | Speakers too close to mics, no DSP tuning | Disrupted events and presentations |
| Failed inspection | Unrated cable, paging not tied in correctly | Rework and delayed opening |
A commercial audio system is only as good as the room plan, the cable work, and the tuning behind the equipment.
That is why commercial audio system installation is a skilled trade and not a weekend task. The same speakers can sound excellent or terrible depending on placement, wiring, and calibration. If you hire for those three things, you get a system that works on opening day and still works three years later.
How to plan and install a commercial sound system
Define the job and walk the space
Start with what the system must do. List every function: background music, paging, event microphones, TV audio, and any emergency tie-in. Then walk the room with a tape measure. Record the ceiling height and material, the noise level at peak hours, and the power and cable paths to the rack location. A 9-foot drywall ceiling and a 20-foot exposed deck need very different speakers.
Design zones and coverage before buying anything
Next, divide the space into zones. A restaurant might use separate zones for the dining room, bar, and patio so each gets its own volume. Aim for even coverage, not maximum loudness. Several small ceiling speakers at low volume almost always beat a few large ones blasting. You also need to choose between a 70-volt distributed line and low-impedance wiring. The 70V approach suits long cable runs and many speakers. Low-impedance fits small rooms with only a few.
Every audio decision is cheaper on paper than inside a finished ceiling.
Get the layout drawn and approved first. Moving a speaker after the ceiling closes means opening drywall and re-running cable.
Follow the installation sequence
Installers generally work in the same order on a commercial audio installation, and timing matters. Rough-in cabling happens first, before ceilings close, so coordinate with the general contractor. The rest follows a predictable path:
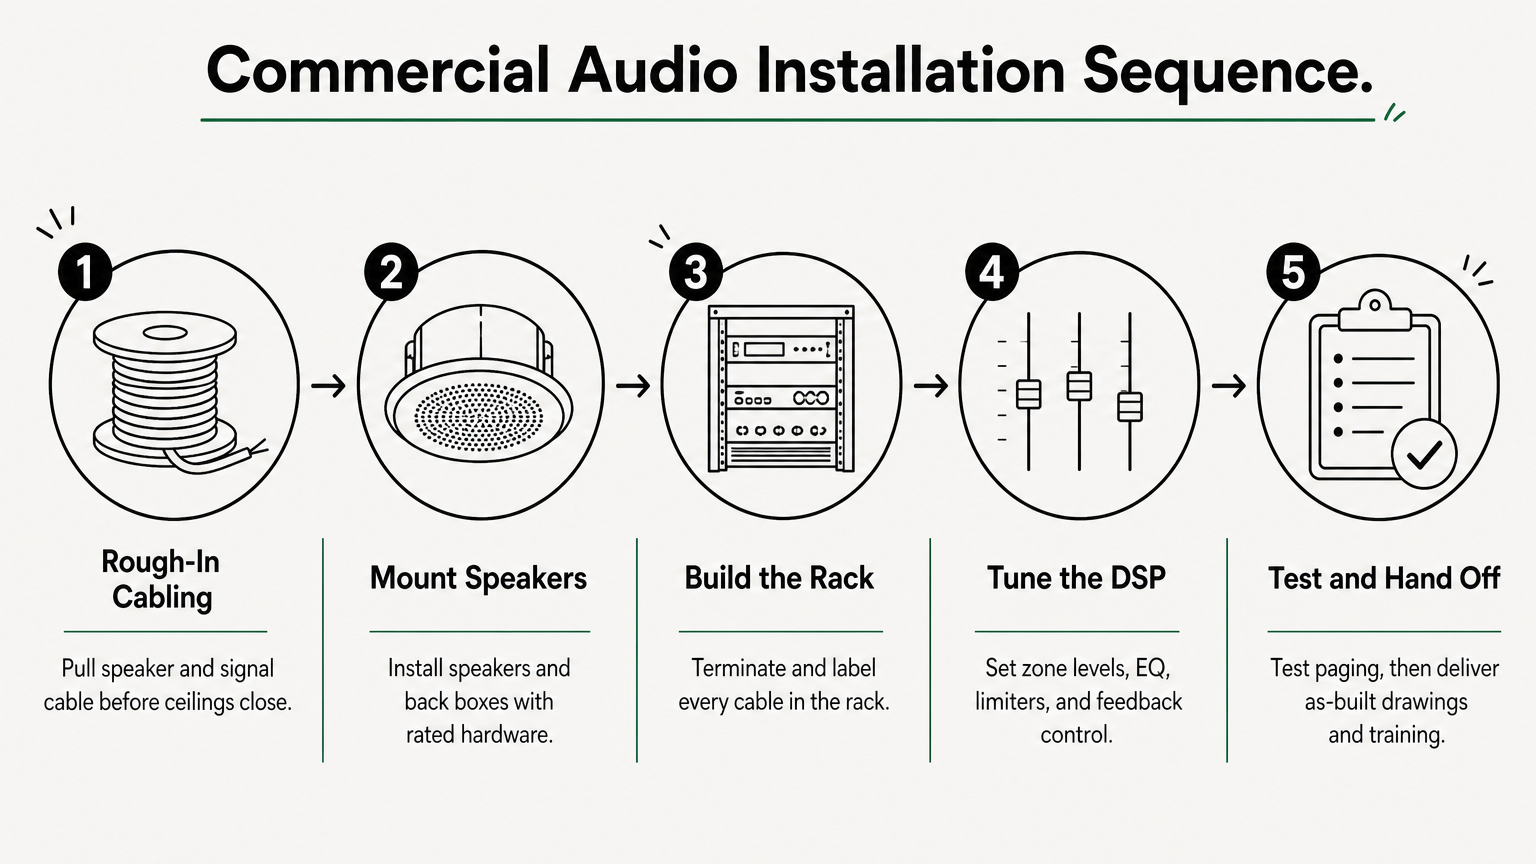
- Pull speaker and signal cable, keeping it apart from power lines.
- Mount speakers and back boxes with rated hardware.
- Build the rack, then terminate and label every cable.
- Power up and set gain levels stage by stage.
- Tune the DSP: zone levels, EQ, limiters, and mic feedback control.
- Test paging and any fire alarm tie-in with the inspector.
- Deliver as-built drawings, settings backups, and staff training.
Finish with a walkthrough at real operating hours, with your staff in the room. A system that sounds fine at 9 a.m. in an empty dining room can behave differently at the Friday dinner rush, and it is much easier to adjust levels before the installer leaves.
Equipment you need and how to choose it
Every commercial audio installation rests on the same five building blocks, and you should choose them as one chain. The weakest link sets the ceiling for how the whole system sounds.
The core components
| Component | What it does | What to look for |
|---|---|---|
| Speakers | Spread sound across the space | Ceiling, pendant, or surface mount, matched to ceiling height |
| Amplifier | Powers passive speakers | 70V output for many speakers, plus headroom |
| DSP or mixer | Controls zones, EQ, and feedback | Per-zone volume, locked presets, network control |
| Source | Supplies music, TV, and paging | A licensed business music service |
| Microphones | Carry paging and event speech | Wireless for events, paging mics at desks |
Licensing trips up more owners than hardware does. Consumer streaming plans generally prohibit business playback, so use a commercial music service that covers public performance rights.
How to choose each piece
Start with the room. Ceiling speakers in the 6 to 8 inch range suit 9 to 12 foot ceilings, while taller spaces need pendant or surface-mount boxes with tighter coverage. Powered speakers work for one small room. Once you pass a handful of speakers, a rack amplifier on a 70V line is simpler to scale and service.
Size every component to the room and its job, not to the price tag.
Then size the power. Add up the speaker tap wattages and buy an amplifier with about 25 percent headroom above that total. An underpowered amp clips, and clipping damages speakers faster than loud, clean volume ever will.
Finally, favor a networked DSP from a commercial line such as Biamp, so your technician can adjust zones remotely instead of making a site visit for every volume complaint. Where you can, stay within one manufacturer ecosystem. Firmware, support, and spare parts get much simpler when most of the rack comes from the same place.
Commercial audio installation cost and what drives it
Typical price ranges
Price depends on zones, speaker count, and ceiling type. Use these rough installed ranges as a starting point, and expect them to shift with your market and scope.
| Venue | Typical scope | Installed range |
|---|---|---|
| Small cafe or boutique | 1 zone, 4 to 8 speakers | $2,000 to $5,000 |
| Restaurant or bar | 2 to 3 zones, paging mic | $5,000 to $15,000 |
| Hotel public areas | Multi-zone, paging, networked DSP | $20,000 to $75,000+ |
| Large retail store | Many zones, zoned paging, high ceilings | $25,000 to $100,000+ |
Those figures cover equipment, cable, labor, and tuning. They usually exclude ceiling repair, electrical work, and fire alarm integration when a separate contractor handles it.
What drives the price
Five factors move a commercial sound system installation quote more than brand names do:
- Zones and speaker count. Every zone adds amplifier channels, DSP outputs, and cable.
- Ceiling type and height. Exposed decks above 20 feet need lifts, pendant speakers, and more install time.
- New build or retrofit. Fishing cable through finished walls costs far more than pulling it before drywall.
- Code requirements. Plenum cable and fire alarm paging add material and inspection time.
- Control and networking. A networked DSP costs more up front and saves site visits later.
Labor is the line item owners underestimate. In our experience, skilled labor and tuning often account for a third or more of the total. A bid that looks cheap usually trims the hours spent on DSP setup, labeling, and documentation.
The lowest bid is rarely the lowest cost once rework and retuning are counted.
Costs beyond the quote
Ongoing expenses are easy to miss. A commercial music license is a monthly fee per location, and you should budget for an annual service check to catch failing amplifiers or drifted settings. Keep one spare speaker and a backup of the DSP configuration on hand.
Ask every installer for an itemized quote that separates equipment, labor, programming, and documentation. That lets you compare bids line by line. If you already own the gear, you can also hire a certified technician for install labor only, which is often the cheapest route for a straightforward commercial audio system installation.
How to hire a commercial audio installer
Where to find qualified installers
Start local, but verify everything. A search for commercial audio installers near you will turn up AV integrators, electrical contractors, and a few one-person shops. AV integrators with commercial references are the safest fit, since they handle design, cabling, and tuning in-house. Ask other venue owners in your area who built their system and whether they would hire that crew again.
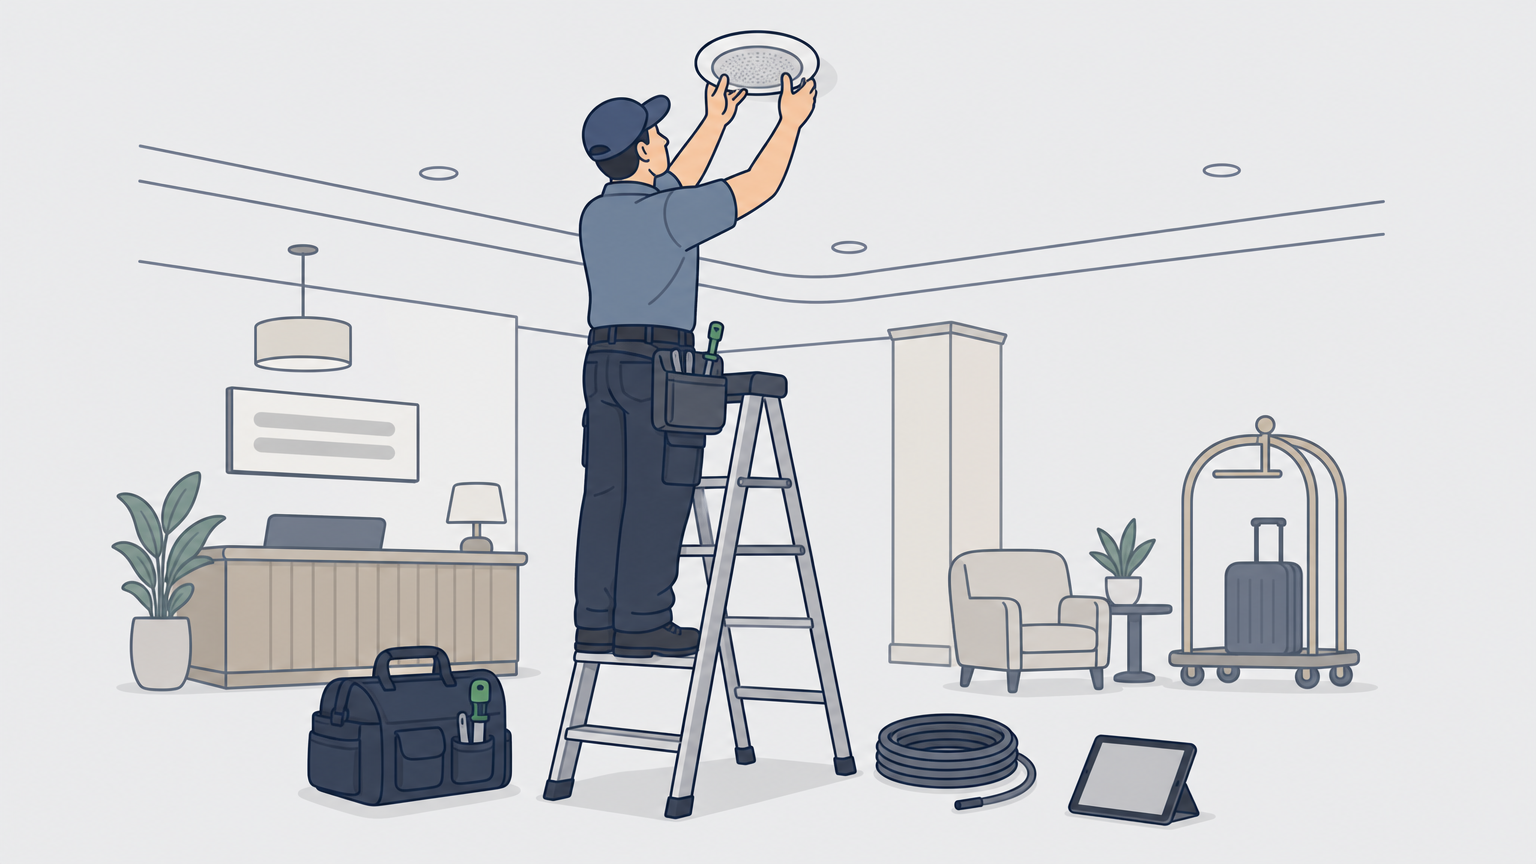
Another route is hiring a technician for labor only. If you already own the gear or have a design from a consultant, a certified field technician can handle the install without an integrator’s markup. MegaServices places vetted CTS, Crestron, Shure, and Biamp certified technicians across the U.S. and Canada, typically within 24 to 48 hours and with no contracts or minimums.
What to verify before you sign
Before you accept any bid for a commercial audio installation, run each candidate through the same checklist:
- Certifications. Look for CTS credentials plus manufacturer training on the brands in your design.
- Insurance and licensing. Request certificates for general liability and workers’ comp, and confirm any state low-voltage license.
- Similar projects. Get two or three references from venues like yours, then actually call them.
- Code experience. Ask who handles permits and the fire alarm tie-in.
- Warranty and support. Expect at least a one-year labor warranty, and ask who answers when a zone dies on a Saturday night.
The same checklist applies to a full commercial audio system installation or a small retrofit. Only the number of references changes.
Red flags and what to put in writing
Watch for quotes written without a site visit. An installer who has not seen your ceiling cannot price your cabling honestly. Also be wary of vague allowance lines such as "misc. materials," which usually hide the hours that the tuning and documentation should take.
Never pay in full until the system has been tuned, tested, and documented.
Finally, put the scope in writing. The contract should list the equipment model numbers, the schedule, and the closeout deliverables: as-built drawings, a DSP settings backup, and staff training. Tie the final payment to a walkthrough at real operating hours, so you have leverage if something still needs adjusting.
Sound system setups by venue type
Every commercial audio installation follows the same logic, but the zones, paging, and microphone needs change with the room. Use these setups as a starting point when you brief an installer, then adjust for your ceiling and code requirements.
Design around what each room has to do, not how big it is.
Restaurants and bars
Restaurants need background music that stays under conversation, so plan separate zones for the dining room, bar, and patio. Use several small ceiling or pendant speakers at low volume, and add a subwoofer in the bar if you want fuller sound without raising the overall level.

- Dining room: 6 to 8 inch ceiling speakers on a 70V line
- Patio: weather-rated speakers on their own zone with a volume limit
- Back of house: one paging mic so staff can call out orders or closing time
Hotels
Hotels carry the heaviest load. Lobby, restaurant, pool, fitness center, and meeting rooms each need an independent zone, and ballrooms usually need divisible-room control so combined spaces act as one room. Paging often ties into the fire alarm, so bring the inspector in early.
- Lobby and corridors: low-level music plus clear paging
- Meeting rooms: wireless mics, program audio, and room combining
- Pool and fitness: moisture-rated speakers on separate zones
Retail stores
Retail stores need even coverage across a wide floor, so use a grid of low-power ceiling speakers instead of a few large ones. Fitting rooms and stockrooms get their own zones, which lets you page staff without interrupting music on the sales floor. If you run multiple locations, write one standard equipment spec so every commercial audio system installation matches and any technician can service any store.
- Sales floor: ceiling grid with one shared volume ceiling
- Checkout: paging mic with priority over music
- Stockroom: its own zone, so announcements stay out of the customer area
Offices and fitness studios
Offices lean toward speech, not music. Conference rooms need ceiling microphones and a DSP with echo cancellation, plus speakers placed so remote participants hear everyone clearly. Open work areas usually need only light background sound or paging.
Fitness studios flip that priority. Instructors need a headset mic that cuts through loud music, and the system must reach high volume without distortion, so size amplifiers with extra headroom and keep limiters set conservatively.
Getting your sound system right
Good sound comes down to three things: a plan built around the room, equipment chosen as one chain, and tuning done at real operating hours. Get those right and your commercial audio installation works on opening day and keeps working for years. Skip them and you pay twice, once for the bid and again for the fixes.
Before you hire, compare itemized quotes, verify CTS and manufacturer certifications, and put the closeout deliverables in writing. Budget for labor and tuning, not only speakers, because that is where low bids cut corners.
If you need a certified technician to handle the install, book a MegaTech™ for your commercial audio installation and get a vetted professional on site, typically within 24 to 48 hours, with no contracts or minimums.
Mega Has The Staffing Solutions You Need For Your Next Pro AV Project.
Let MegaServices help you grow your business by providing you with the qualified personnel you need when you need them.
Allie Linarez is a Senior Billing Specialist at MegaServices LLC. As one of Mega’s earliest team members, Allie has grown with the company and contributed to many of the processes used today. Her adaptability, organization, and attention to detail make her a trusted part of Mega’s service-side billing operations.
